| Navigation Guide on Virtual Chemistry Lab |
|
1. After starting CD-ROM there appears the introduction to Virtual Chemistry Lab. |
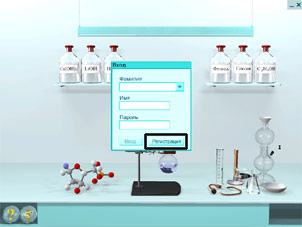
2. You see the entrance window. You should register. To do this go to the registration form (move the cursor to the indicated zone and go to the next screen clicking on the left button of the mouse). |
|
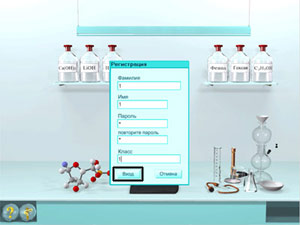
3. Please, fill this form out, for example, by 1 to every cell. Press the "Вход" (“Enter”) button to go to the main menu. |
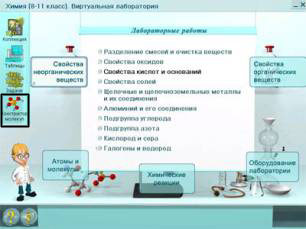
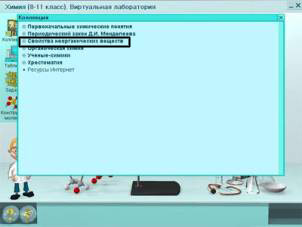
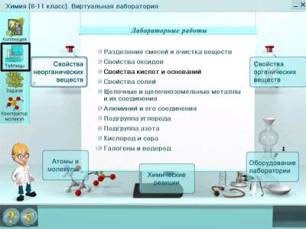
4. This is the main menu of the CD-ROM. There is the pedagogical agent “Chemist”. Let’s do the laboratory sessions now. Choose section 2 “Properties of inorganic substances” (move the cursor to the indicated zone and go to the next screen clicking on the left button of the mouse). |
|
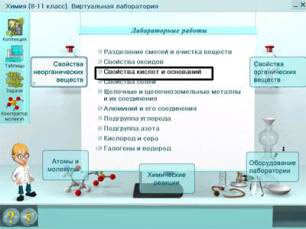
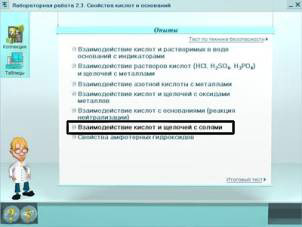
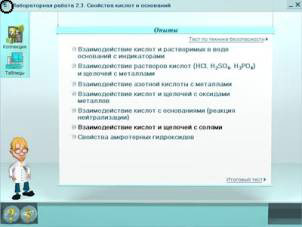
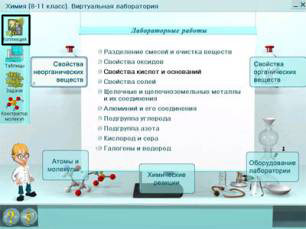
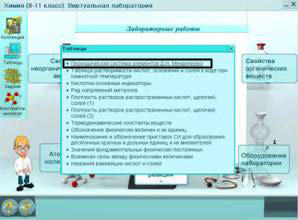
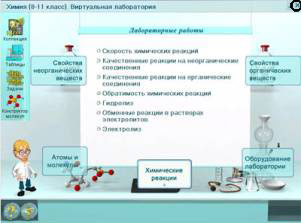
5. This is the laboratory sessions menu of section 2 “Properties of inorganic substances”. Let’s go to Laboratory session 3 “Properties of acids and bases” (move the cursor to point 3 and go to the next screen clicking on the left button of the mouse). |
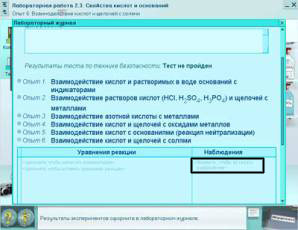
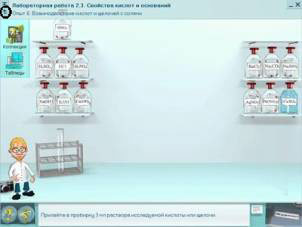
6. Let’s go to experiment 6 “Reaction of acids and bases with salts” (move the cursor to point 6 and go to the next screen clicking on the left button of the mouse). |
|
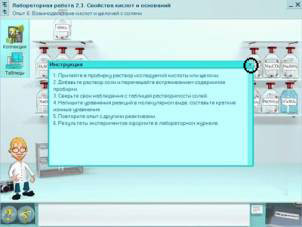
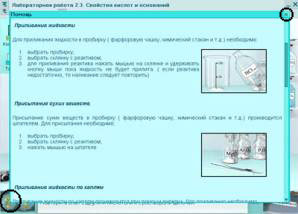
7. You see the experiment screen. Before you start working, get acquainted with the instruction. To start the experiment close the instruction (move the cursor to the indicated zone and go to the next screen clicking on the left button of the mouse). |
8. Let’s set up the experiment. The pedagogical agent “Chemist” and the instructions in the lower part of the screen will help you. If you want to switch the sound off click on “Chemist”. To perform the experiment you should “take” a test-tube (move the cursor to the test-tube and click on the left button of the mouse). |
|
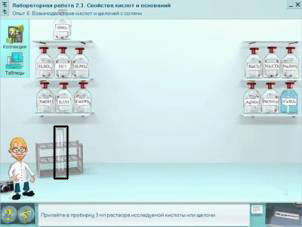
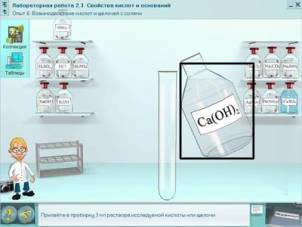
9. To select a chemical, bring a mouse cursor to one of the vessels on the shelves in the left-hand part of the screen (according to the instruction) and click on the left button of the mouse. |
10. To “pour in” the chemical solution, it is necessary to move the cursor into the zone of the vessel, to press on and retain the left button of the mouse until the necessary quantity of a chemical doesn’t pour into the test-tube. |
|
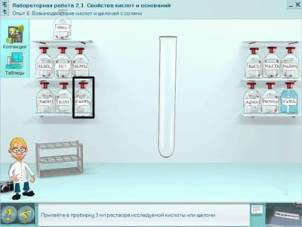
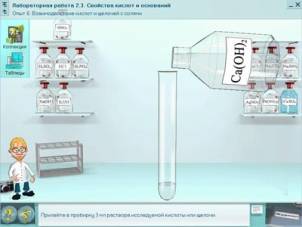
11. After filling of the test-tube, the vessel with the chemical returns to its place automatically. |
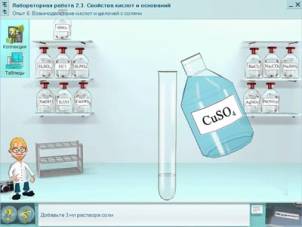
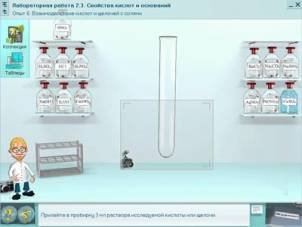
12. Let’s add the second chemical solution in the same way having selected one of the vessels on shelves in the right-hand part of the screen. |
|
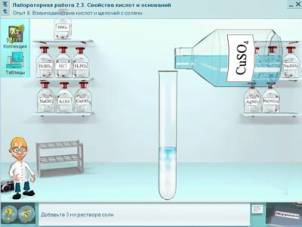
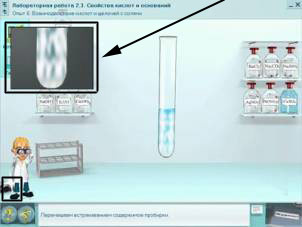
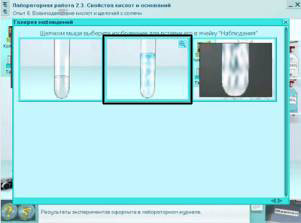
13. After mixing of chemical solutions, the chemical reaction happens, which one can follow-up be watched in a window of increase. |
14. We can use “Electronic workbook” for experiment's report. For filling out the “Electronic workbook” during the experiment you can remember the ongoing visual events using the “Camera”. When chemical reactions happen the “Camera” is actuated in reminder mode (blink). |
|
15. “To snapshot” it is necessary to put the cursor to the “Camera”, click on the left button of the mouse, drag a “photo” window to the area of a screen which interests you and click on the left button of the mouse once again. |
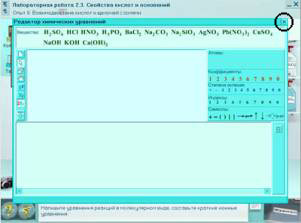
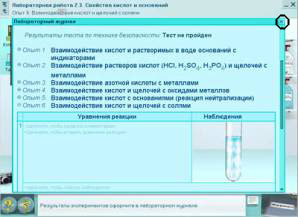
16. When the reaction is over, the “Editor of Chemical Equations” is automatically activated giving the possibility to write equations of chemical reactions. To continue the work it is necessary to move a mouse cursor to the upper right corner of the Editor' window and to click on the left button of the mouse. |
|
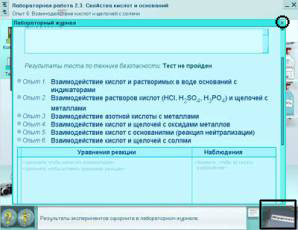
17. All your observations can be written down into the “Electronic Workbook” which is activated automatically after the completion of an experiment or its part. The “Electronic Workbook” can be activated at any moment by clicking on an icon in a lower right-hand part of the screen. To shut the window click on the upper right corner of it. |
18. Clicking on an “Observation” area of the “Electronic Workbook” you can look through the saved pictures. |
|
19. To move the picture into the “Electronic Workbook” it is necessary to click on it with the left button of the mouse. |
20. The picture is saved in the “Electronic Workbook”. To shut window click on the upper right corner of it. |
|
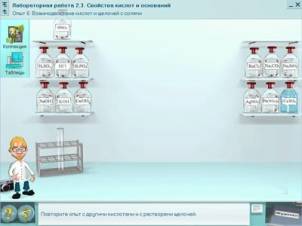
21. When experiment is over, the test-tubes are cleared, and the experiment can be repeated with other chemical reagents. |
22. When performing an experiment you can use help. For this purpose it is necessary to move the cursor to the question icon on the lower left-hand part of the screen and click on it with the left button of the mouse. To shut the window click on the upper right corner of the help window. |
|
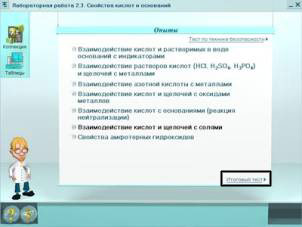
23. Return to the menu of experiments (move the mouse cursor to the indicated zone and click on the left button). |
24. After performing all the experiments of laboratory session pass the final test (move the mouse cursor to the indicated area and click on the left button). |
|
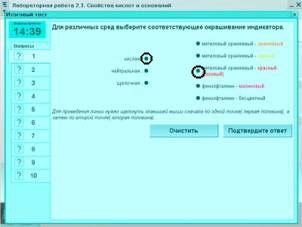
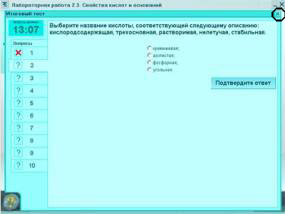
25. This is the first question of the assesment. You should correlate a kind of medium to the corresponding colouring of indicators. For this purpose click on a point on the left and then click on a corresponding one, from your point of view, on the right. |
26. The jump to the next question is implemented clicking on the button titled "Подтвердить ответ" (“Confirm the answer”). |
|
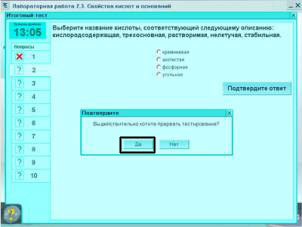
27. Unfortunately, we gave the wrong answer. Return to the menu of experiments moving the cursor to the indicated zone and clicking on the left button of the mouse. |
28. Confirm that you want to quit assesment. For this purpose click on the button titled "Да" (“Yes”). |
|
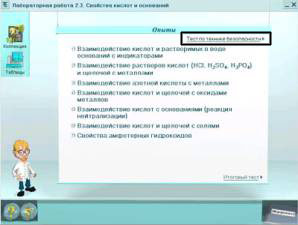
29. This is the experiments menu for laboratory session 3 of section 2. You should move the cursor to the indicated zone and click on the left button of the mouse to take the test on Lab safety. |
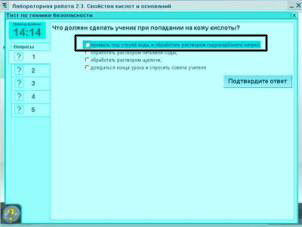
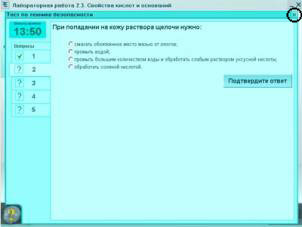
30. This is the window of the Lab safety test question. Choose the right answer moving the cursor to the indicated zone and clicking on the left button of the mouse. |
|
31. Go to the next question clicking on the button titled "Подтвердить ответ"(“Confirm the answer”). |
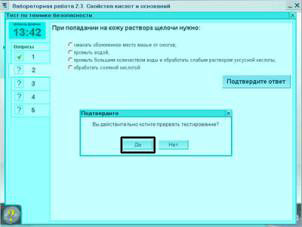
32. Your answer is right. Now go to the experiment menu moving the cursor to the indicated zone and clicking on the left button of the mouse. |
|
33. Confirm that you want to quit the assesment by clicking on "Да" (“Yes”) titled button. |
34. Return to the menu of laboratory sessions (move the mouse cursor to the indicated zone and clicking on the left button go to the next screen). |
|
35. Go to “Constructor of molecules”. (Move the mouse cursor to the indicated zone and click on the left button.) |
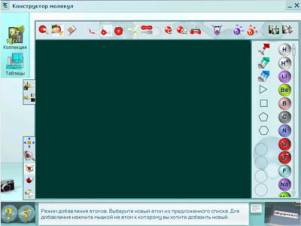
36. This is the window of “Constructor of molecules”. |
|
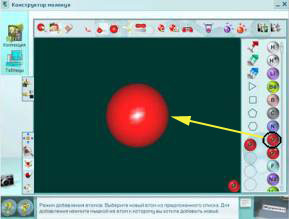
37. It is necessary to select the first element and then click on the working field. |
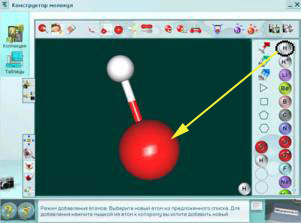
38. To attach a new atom to the model it is necessary to select the next element and then click on the atom (in the working field) you want to add a new one to. |
|
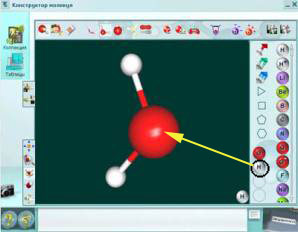
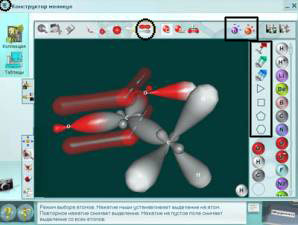
39. The remaining atoms can be added to the molecule through the panel of fast access to the elements. |
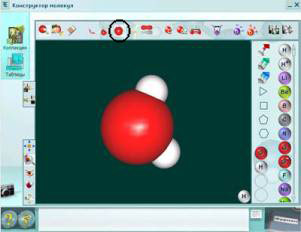
40. Through the panel of visualisation you can view three types of models: shadeous, a balls-and-rods form and a scale one. |
|
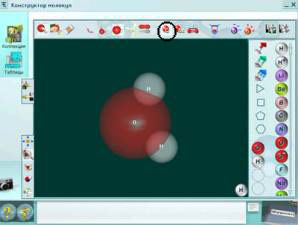
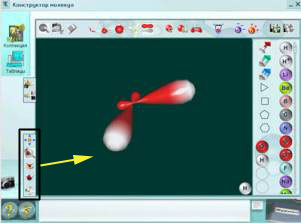
41. You can also look at the information on atoms in the molecule. |
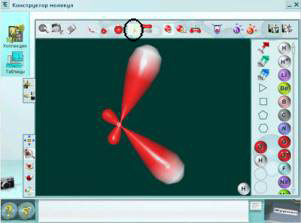
42. The “Constructor of molecules” allows us to view atomic orbitals in the model. |
|
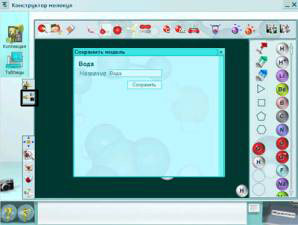
43. You can keep the built model in the library of models for subsequent usage. |
44. The rotation and scaling of the model is made through the control panel. |
|
45. To construct more complex molecules you can use other tools of the “Constructor of molecules”. Exit from the “Constructor of molecules” is made through the upper navigation. |
46. Proceed to viewing the Gallery (move the cursor to the indicated zone and clicking on the left button go to the next screen). |
|
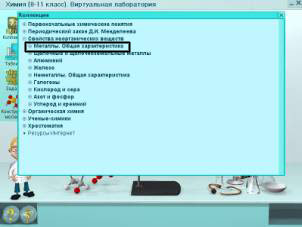
47. Select the “Properties of inorganic substances” section of the Gallery for viewing (move the cursor to the indicated zone and clicking on the left button go to the next screen). |
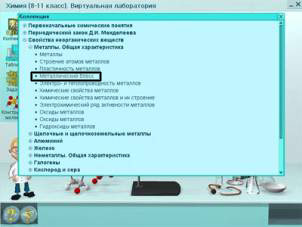
48. Proceed to the “Metals. A general characteristic” subsection (move the cursor to the indicated zone and clicking on the left button go to the next screen). |
|
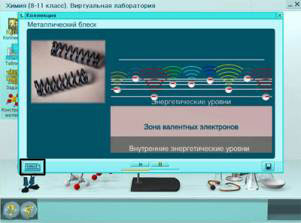
49. Select the “Metallic lustre” fragment for viewing (move the cursor to the indicated zone and clicking on the left button go to the next screen). |
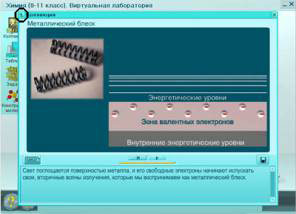
50. You are in a browse mode of a screen of the Gallery containing animation. To control the play use the buttons on the control panel. Open the text box of the comments by clicking on the "Текст" (“Text”) titled button. |
|
51. Return to the list of sections of the Gallery (move the cursor to the indicated zone and clicking on the left button go to the next screen). |
52. Proceed to the list of Chemical tables (move the cursor to the indicated zone and clicking on the left button go to the next screen). |
|
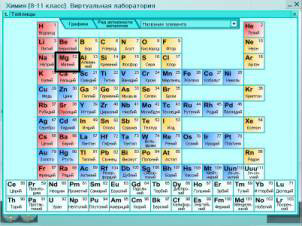
53. Proceed to viewing a Periodic table (move the cursor to the indicated zone and clicking the left button go to the next screen). |
54. You are in a browse mode of a Periodic table. Proceed to viewing the information about the chemical element (move the cursor to the indicated zone and clicking on the left button go to the next screen). |
|
55. To quit the program move a mouse cursor to the indicated zone and click on the left button. THANK YOU FOR ATTENTION. |